The Expert Guide To Reverse Camera Installation Closest 12v Acc Trunk
23 Apr, 2023
By hqt
Introduction to Reverse Camera:
A reverse camera is an invaluable addition to any vehicle, enhancing safety and making parking or maneuvering in tight spaces much easier. This ultimate guide will provide you with detailed instructions for reverse camera installation closest 12v acc trunk. We'll also share expert tips and troubleshooting solutions to ensure a successful installation.
In-Depth Guide to Reverse Camera Installation Closest 12v acc Trunk:
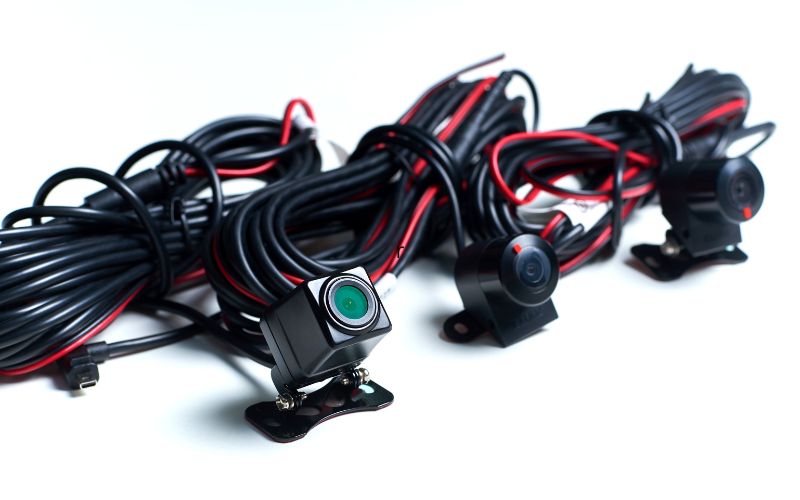
Gather the necessary tools and materials: reverse camera kit, wire stripper, electrical tape, soldering iron (optional), heat shrink tubing, a multimeter, trim removal tool, cable ties, and a drill with appropriate bits (if needed for camera mounting).
Disconnect the vehicle's battery by removing the negative cable to prevent any electrical issues during installation.
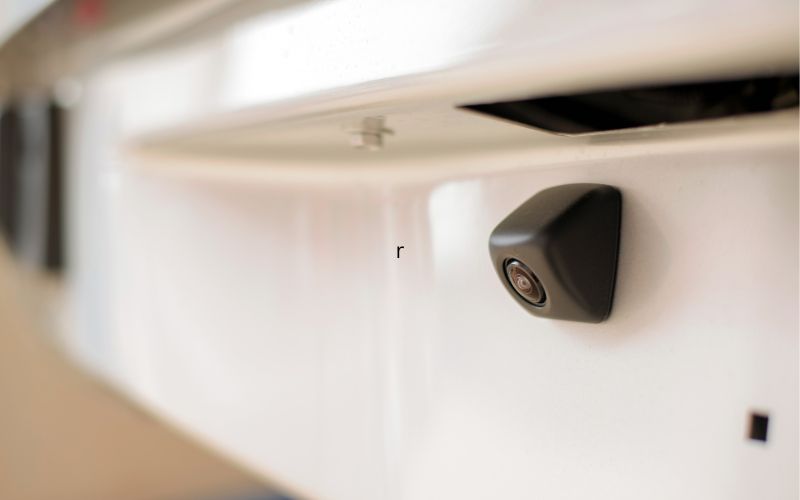
Identify a suitable mounting location for the reverse camera, ensuring it provides an unobstructed view of the rear. This location may vary depending on your vehicle and the camera design.
If required, drill a hole to mount the camera and install the camera using the provided hardware. Be sure to apply any included weatherproofing materials to prevent water ingress.
Locate the closest 12V ACC source in the trunk. This is typically found in the wiring harness for the taillights or other accessories. Consult your vehicle's wiring diagram for further guidance.
Use a multimeter to test and confirm the 12V ACC wire by turning the ignition on and off. The correct wire will display 12V when the ignition is on and 0V when it's off.
Route the camera's video cable and power cable from the rear of the vehicle to the trunk. Use cable ties or clips to secure the cables along the way, avoiding any moving parts or sharp edges.
Strip the insulation from the identified 12V ACC wire and the camera's power cable. Twist the exposed copper strands together and secure the connection with a soldering iron, followed by heat shrink tubing. Alternatively, you can use a wire tap connector for a solderless connection.
Ground the camera by attaching the black wire to a suitable grounding point, such as a metal part of the car's body. Remove any paint or rust from the grounding point for optimal electrical conductivity.
Route the video cable to the front of the vehicle, using the most direct and secure path. Avoid running the cable near any high-voltage wires or areas with excessive heat, which could cause interference or damage the cable.
Connect the video cable to the display or head unit, following the manufacturer's instructions. This may require removing the head unit or display from the dashboard for access to the rear connections.
Reconnect the vehicle's battery and test the reverse camera functionality by turning on the ignition and shifting the car into reverse. Adjust the camera angle if necessary.
Once the camera is functioning correctly, reassemble any removed trim or panels and secure any loose cables with cable ties.
Expert Tips for a Successful Reverse Camera Installation:
Our experts have concluded the real life issues faced by consumers for the reverse camera installation closest 12v acc trunk. Therefore, we have listed our experts guidelines for successful installation.
Choose a high-quality reverse camera kit that is compatible with your vehicle and meets your requirements. Look for features like night vision, parking guidelines, and wide viewing angles.
Familiarize yourself with your vehicle's wiring diagram and the camera kit's instructions before starting the installation.
Plan the wiring route carefully to avoid damaging any existing wiring or car components. Use cable ties or clips to keep the cables organized and secure.
When routing the video cable, try to follow existing wiring harnesses within the vehicle for a cleaner installation.
Keep the camera lens clean and free from obstructions for optimal image quality. Regularly check and clean the lens as part of your vehicle maintenance routine.
Ensure the camera is mounted at an appropriate angle for the best view of the area behind your vehicle. Some cameras have adjustable angles, so take the time to find the ideal position.
Use weather-resistant materials, such as heat shrink tubing or silicone sealant, for external connections to prevent corrosion and damage from moisture.
Test the system functionality before reassembling any removed trim or panels, as this will save time and effort if any adjustments are required.
Consider adding a relay to isolate the reverse camera from other electrical systems, preventing interference and ensuring stable power supply to the camera.
If you're not confident in your ability to complete the installation, consult a professional installer or your vehicle's manufacturer for guidance.
Common Issues and Solutions for Reverse Camera Installation:
When you go for reverse camera installation closest 12v acc trunk, you might face a couple of issues which are responsible for unsuccessful trunk camera installation. Therefore, we have listed all the common issues with the optimal solution to fix them in a single sight.
Poor image quality or flickering image
Solution: Check the camera's connections, ensuring they are secure and free from corrosion. Also, verify the camera's compatibility with your display or head unit and ensure the lens is clean.
Camera not turning on when the vehicle is in reverse
Solution: Confirm that the camera is connected to the correct 12V ACC source and that the ignition is turned on. Also, check the camera's ground connection for proper electrical conductivity.
Interference with other vehicle systems
Solution: Consider adding a relay to isolate the reverse camera from other electrical systems. Additionally, ensure the video cable is routed away from high-voltage wires or areas with excessive heat.
Difficulty identifying the correct 12V ACC wire
Solution: Consult your vehicle's wiring diagram or use a multimeter to test the wires. The correct wire will display 12V when the ignition is on and 0V when it's off.
Difficulty routing the video cable
Solution: Plan the cable route carefully, taking into account the vehicle's structure and any obstacles. Follow existing wiring harnesses whenever possible, and use cable ties or clips to secure the cable along the route.
Camera mounted at an incorrect angle
Solution: Adjust the camera angle as needed to provide an optimal view of the area behind your vehicle. Some cameras have adjustable angles, while others may require shims or brackets for proper positioning.
Display or head unit not recognizing the reverse camera input
Solution: Check the compatibility of your display or head unit with the reverse camera. Ensure that you have connected the video cable to the correct input, usually labeled "reverse," "camera," or "rear view." Some head units or displays may require you to enable the reverse camera input in the settings menu.
Image on the display is reversed or mirrored
Solution: This issue may be due to incorrect camera settings or wiring. First, check if the camera itself has a setting to reverse or mirror the image. If not, refer to the camera kit's instructions for proper wiring, as some cameras may require a specific connection to display the image correctly.
Camera's parking guidelines are misaligned
Solution: Some reverse cameras have adjustable parking guidelines, either through the camera itself or via the display or head unit settings. Consult the camera kit's instructions or display/head unit manual for guidance on adjusting the parking guidelines to align with your vehicle.
Inaccurate distance perception in the camera's view
Solution: It's essential to understand that the reverse camera's wide-angle lens may distort distance perception. Use the camera as an aid, but always rely on your mirrors and direct observation when maneuvering your vehicle. Practice using the reverse camera in a safe environment to familiarize yourself with its limitations and capabilities.
Conclusion:
By following this in-depth guide, expert tips, and troubleshooting solutions, you'll be well-equipped to successfully install a reverse camera using the closest 12V ACC source in the trunk. Remember, if you're ever unsure about any aspect of the installation process, it's best to consult a professional or your vehicle's manufacturer for guidance.
Keep in mind that the reverse camera installation closest 12v acc trunk process may vary depending on your vehicle's make and model, as well as the specific reverse camera kit you have chosen. Always consult the manufacturer's instructions and recommendations for the best results.
The load of reverse camera on a vehicle's battery is very less and you can simply install it on any vehicle. However, if you want a separate battery for rear camera to record video for security purpose you can consult us for best portable lithium and NIMH batteries.